Integrations - Smarter Contact
- 24 May 2021
- 3 Minutes to read
- Contributors


- Print
- Comment
- DarkLight
Integrations - Smarter Contact
- Updated on 24 May 2021
- 3 Minutes to read
- Contributors
- Print
- Comment
- DarkLight
Article summary
Did you find this summary helpful?
Thank you for your feedback

Smarter Contact is an outbound prospecting tool that houses the capability of considering the exchange of messages itself to prospects as a lead in a CRM structure. It can be integrated into InvestorFuse using Zapier.
Resources Needed
- A Zapier Account
- Smarter Contact credentials
Creating the Trigger
1. Login to www.zapier.com - on this page, click on Make a Zap

2. Name your Zap. Something that will be easy to remember in the event that the integration needs to be modified.
3. Under Choose app & event search for Smarter Contact
4. For the Trigger Event, choose Export Contact Trigger
5. Click Continue

6. After clicking Continue, you will be asked to choose an account
7. If this is your first time integrating Smarter Contact, click on Connect a new account

8. A different window will then open up. Type in your username.
9. Input the password for the account
10. Click on the checkbox to agree to the Terms of Service
11. Click Log In

12. After logging in to the Smarter Contact Prompt, go back to the Zap page. From thereon, you'll be able to select the account for Smarter Contact whenever you are going to perform an integration.
13. Click Continue

14. In the set up trigger section, this will allow Zapier to create a trigger on the Smarter Contact side. Enter the title of the trigger.
15. Click Continue

16. After creating the trigger on Smarter Contact via the Zap, it will transition you to the testing phase. Click Test Trigger.

Triggers in Smarter Contact
To check if the trigger was created successfully on the Smarter Contact Side. Follow the instructions below;
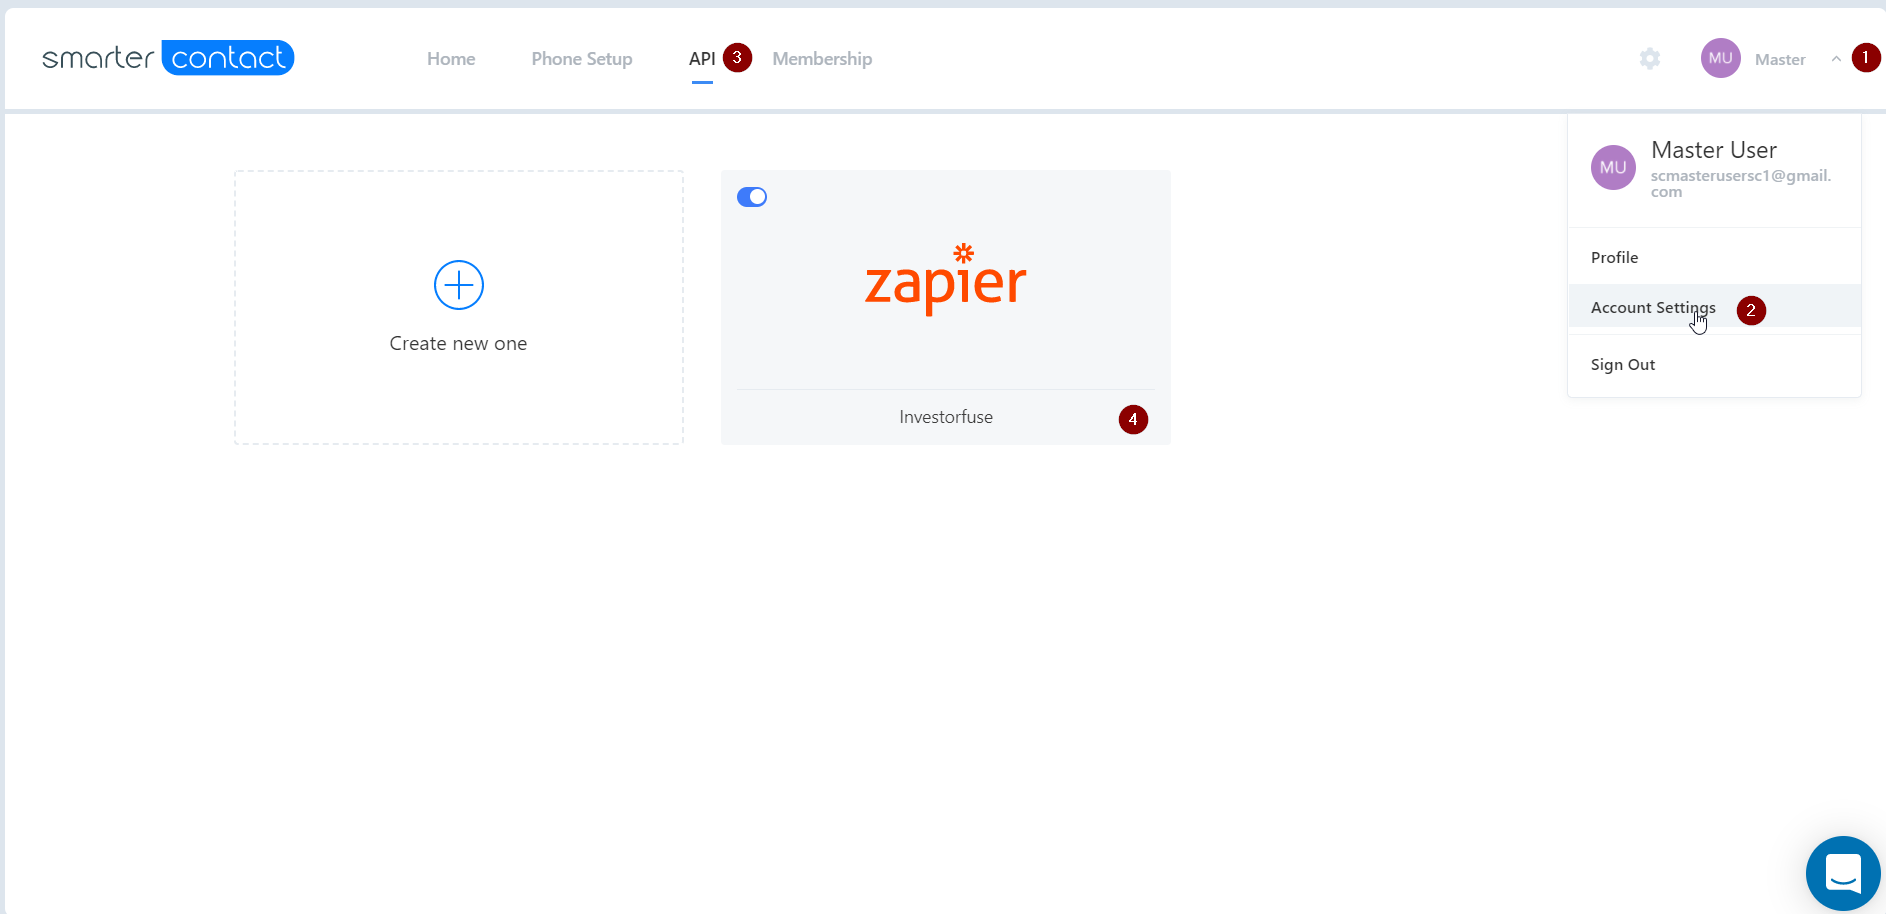
1. Log in to Smarter Contact and click on the Account drop-down
2. Click Account Settings
3. Click on the API Tab
4. Check if the Zap Trigger you created is shown
1. Log in to Smarter Contact and click on the Account drop-down
2. Click Account Settings
3. Click on the API Tab
4. Check if the Zap Trigger you created is shown

17. After testing the trigger, it will bring up options to choose from
18. Click Continue

Now that the Zapier trigger is set up you will create an action to send Smarter Contact's data into IF3.
Pushing a contact from Smarter Contact
1. Login to the Smarter Contact account that has been integrated, go to the Messenger tab
2. Choose the contact that you'd like to work on .png)
3. You will be redirected to the contact's conversation thread. On the right hand side, look for the Property Address field. There is an orange gear (Zapier icon) that you can click on to trigger the integration.

4. You will then be prompted that the push was successful

Connecting to InvestorFuse
1. After the trigger section of the Zap has been configured, it will ask you to choose an action. Search for the term InvestorFuse in the search bar.
2. Choose the result InvestorFuse
3. Choose the Action Event Create New Opportunity
4. Click Continue

5. Click the drop-down for accounts associated and choose your account
6. Click Continue
Don't see an InvestorFuse account in the drop-down? No worries!
Follow the steps in this article to connect IF3 to Zapier. Then return here to finish up integrating Smarter Contact.

Zapier Field Mapping
1. Choose the name of the Market Space where you would like to funnel the leads to
Market Space Access
Remember that the Zap will only show market spaces that you are a member of.
2. Ensure that you have a campaign created in InvestorFuse. Add the preferred campaign given out by the list.
Campaign Creation
Campaigns selected here will automatically be tagged to leads that come from this integration.
3. Fill up the form with the available information that was provided by your trigger app. These bits of information are called Zap Tokens - route these tokens over to fields that you see fit in InvestorFuse.
4. Once you are done mapping the fields, click Continue

Can't see a field that matches the data that you have?
You can simply place them in the Notes field - start off with a prefix of the field that you are going to place (as shown in the example below) and add a colon, and select the token of data from your webform

5. After clicking Continue, you will be shown a summary of the fields that you mapped
6. Click Test and Continue
Test Zap
By doing so, the Zap will send a test to InvestorFuse with the details of the tokens that you mapped earlier.
.png)
7. A message in green will then come up confirming that the test you made was successful
8. Click Turn On Zap, this should activate the integration and will start funneling leads into your market space
9. Not sure if you'd like to launch the integration right now? Clicking on Done Editing will save the work you did with the Zap - and you can turn it on at a later time.

Was this article helpful?